


Description
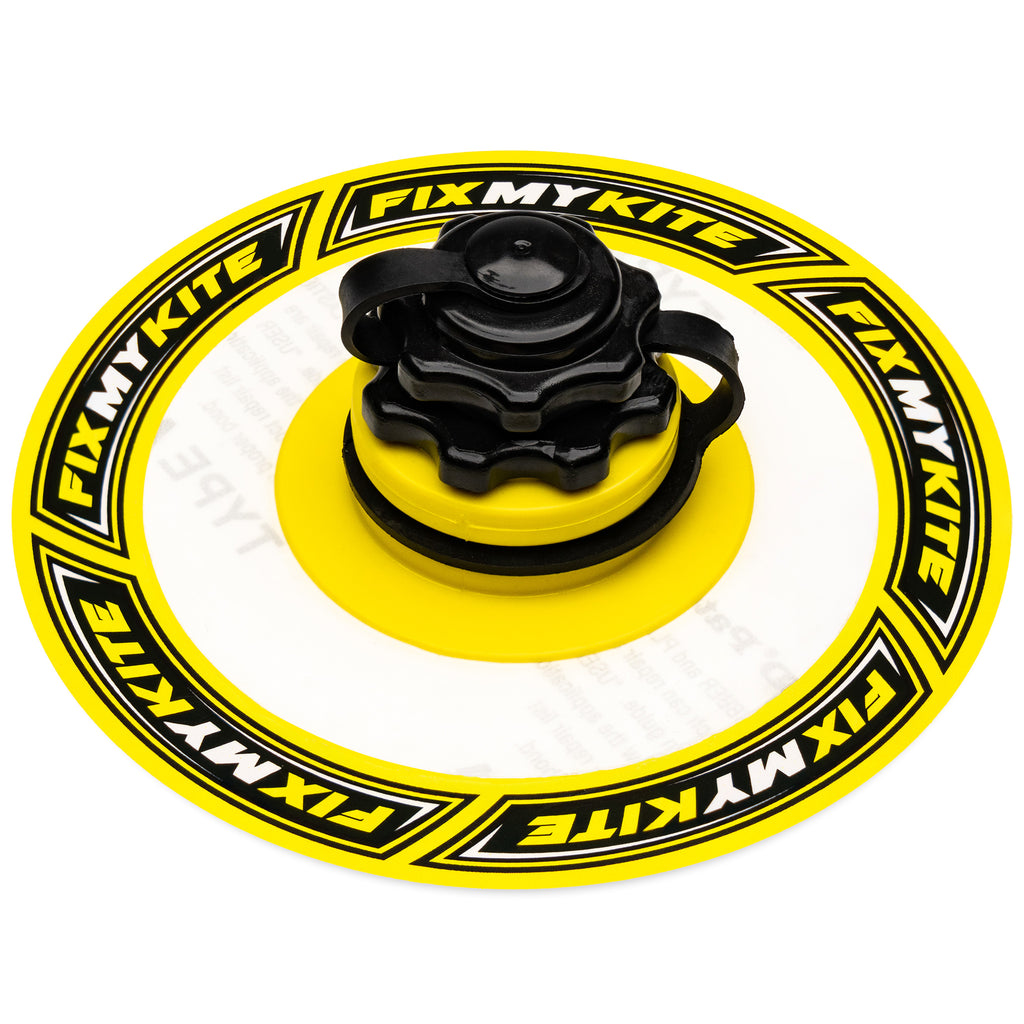
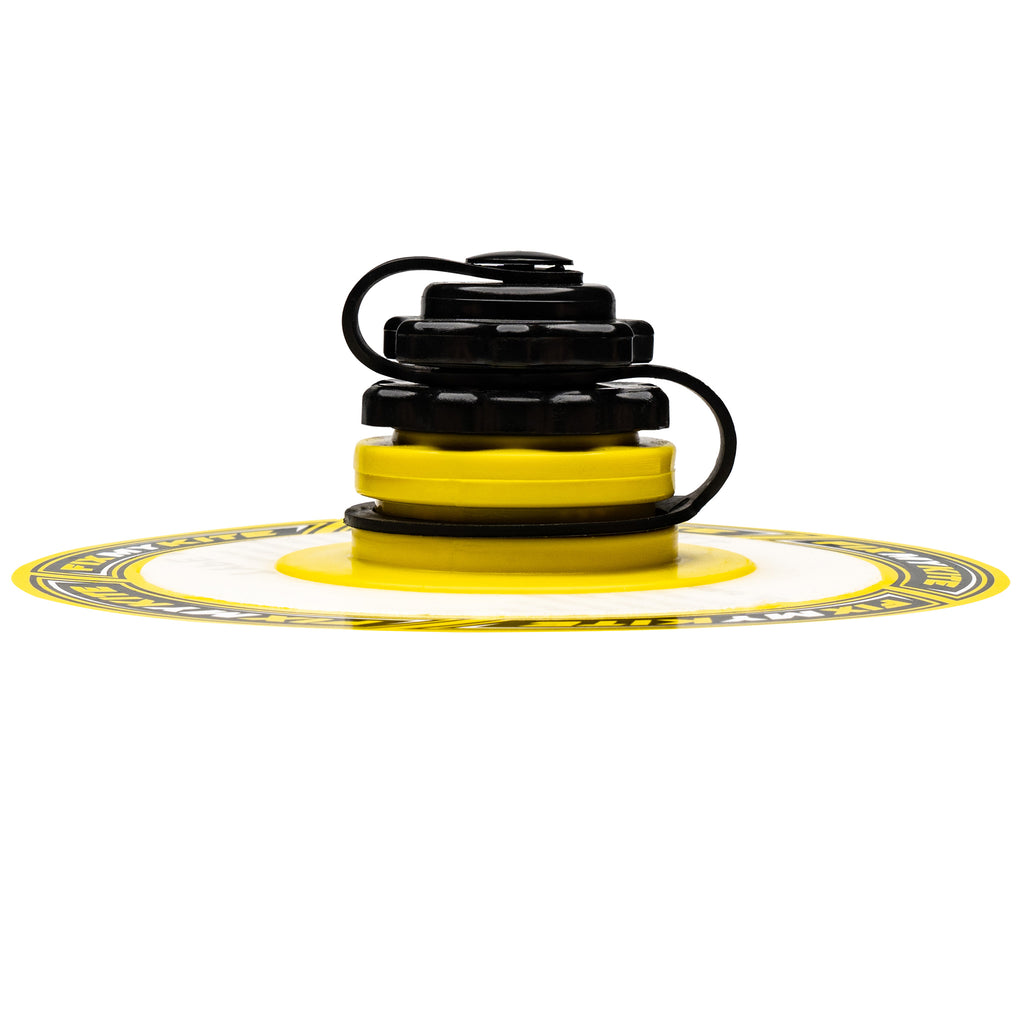
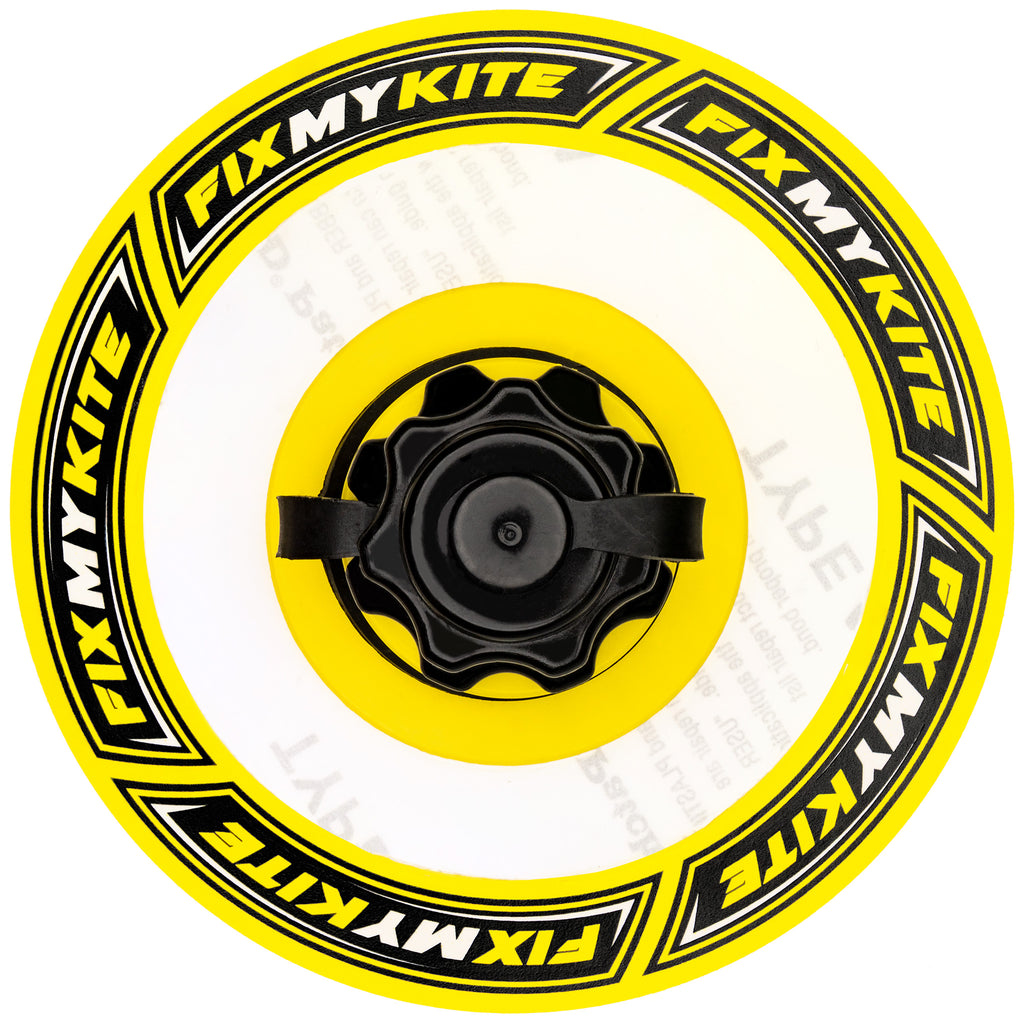
FixMyKite ProFlow Boston Screw Valve is perfect 'Self-Stick' replacement for leaking leading edge kite bladder valves. This valve used on Ocean Rodeo, Airush, Naish, Star, RRD, Switch Kites with Large Boston Style Screw Valve and can be installed in under 5 minutes.
Backed by Tear-Aid these valves are incredibly durable and will stick directly on to your kite bladder. Everything you need to install the new valve is included in the package, including an alcohol wipe and a link to detailed instructions.
FixMyKite is the global benchmark in 'Self-Stick' valves, trusted everyday by professional repairers around the world. When you buy a FixMyKite 'Self-Stick' valve you can be 100% confident you're receiving an original ProFlow boston screw valve backed by Tear-Aid and made by FixMyKite.
HOW TO REPLACE:
- Valve Removal: If replacing the valve, carefully peel off old valve. If old valve does peel off, cut around the circumference of the valve to remove
- Cleaning: Wipe area where the valve will be placed with a provided alcohol swab. DRY COMPLETELY WITH A CLEAN PAPER TOWEL.
- Peel and Stick: Lay bladder out flat. If possible, have a friend lightly hold bladder on a table or other smooth even surface. Peel off paper backing, center valve over hole, and place valve on bladder.
- Press: Press valve from center outward to remove air bubbles and ensure proper adhesion and creases.
NOTE ABOUT BOSTON VALVES ON USED BLADDERS:
- BOSTON OVERSIZE PATCHES: Depending on how you remove the valve, you may need to place an oversize tear-aid base patch first before installing the new bladder. This is not needed if installing on to a new FixMyKite Tuff Bladder.
*Pro Tip - Use a hair dryer to heat the valve especially in cold weather. This makes it easier to remove the valve from the backing paper. After placement of the self-stick valve use the hair dryer again to warm the adhesive. Press the valve from the centre out, massaging and stretching creating positive adhesion. Be careful not to overheat the bladder or new valve. Following this method will guarantee your valve sticks in all conditions, and it really helps the Tear-Aid adhesive provide a permanent and lasting repair.